How to record a lecture on iPhone


In this article
To record a lecture on iPhone, get permission, open Voice Memos, tap the red Record button, and place your phone where it can clearly hear the lecturer. When the lecture ends, stop recording, rename the file, and play it back before leaving; a recording does not automatically give you reliable study notes.
- Voice Memos is the simplest starting point for how to record a lecture on iPhone when you only need audio.
- Omi is best for students who want lecture recordings turned into searchable transcripts and summaries.
- Get permission before recording, keep the microphone unobstructed, and check playback before leaving class.
- Review transcripts against the recording before studying names, formulas, or assignment instructions.
Why this matters
A recording you cannot understand is not a useful backup. Your first job is capturing the lecturer clearly, not choosing the app with the longest feature list. A phone buried in a backpack records from inside a backpack, regardless of what happens to the audio afterward.
For lectures in 2026, separate the job into capture and review. Capture preserves what was said. Review turns that material into something you can explain without pressing Play again.
If you need the basic controls before class, start with this guide to recording audio on iPhone. The steps below focus on the classroom decisions: permission, placement, interruptions, and what to do with the file afterward.
How do you record a lecture on iPhone?
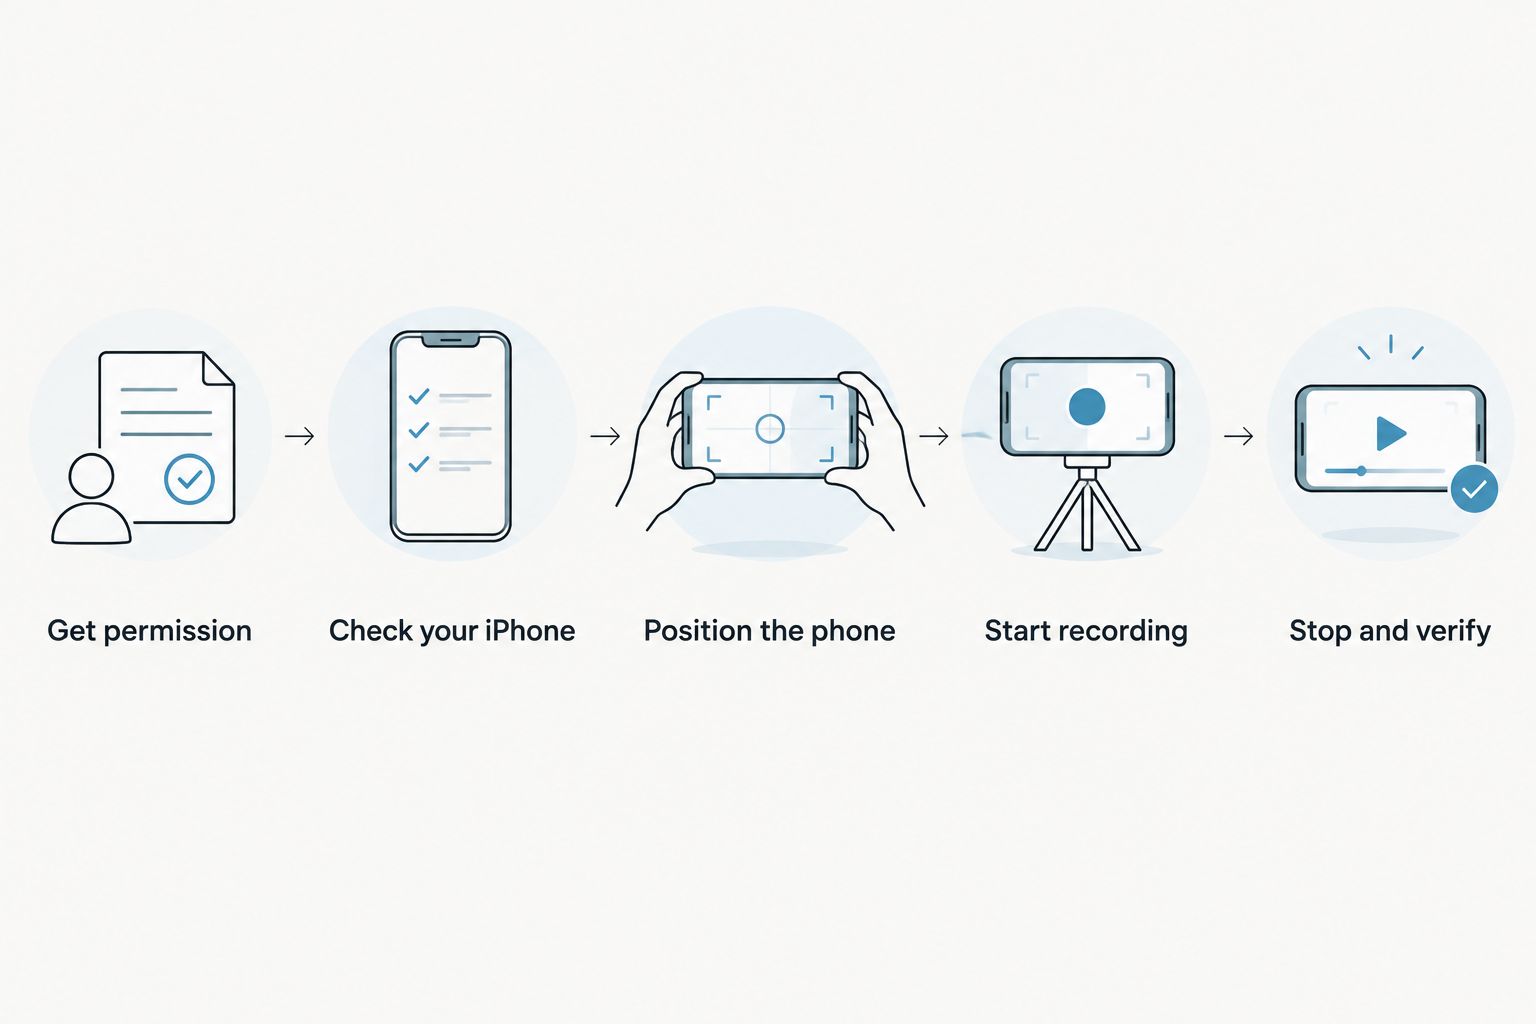
Use this sequence for an in-person lecture in 2026. Set up before the lecturer starts so you are not changing settings while important material is already being explained.
1. Get permission before recording
Ask the lecturer whether recording is allowed and check the course or institution's policy. Explain whether the recording is for your own review, an approved accommodation, or another purpose. Do not treat permission to attend as permission to record.
Consent rules vary by location; check local law. Classroom discussions also involve other students, so ask how questions, presentations, and sensitive discussions should be handled. This is practical guidance, not legal advice.
2. Check your iPhone before class
Check the battery and available storage in Settings. Close out any unfinished recording session, then open Voice Memos so you know where the recording control is. If you cannot find the app, use your iPhone's search.
Set Focus or Do Not Disturb to reduce distractions. Do not assume a notification setting guarantees an uninterrupted recording. Avoid making or answering calls while capturing the lecture, and check that recording continues after any interruption.
3. Make a test recording from your seat
Tap the red Record button, record speech from the position you intend to use, then stop and listen. Check that words are understandable rather than merely audible. Hearing a voice in the distance is not the same as capturing a sentence you can study.
The test checks your setup, not the entire lecture. A lecturer who walks away from the microphone, turns toward a board, or invites audience questions changes what your phone hears.
4. Position the phone for the lecturer
Place your iPhone on a stable surface with its microphones unobstructed. Keep it outside bags and pockets, and avoid covering it with a notebook. Choose a permitted seat with a clear path to the lecturer's voice.
Keep the phone away from things you repeatedly touch. Turning pages beside it, sliding it across the desk, or tapping the tabletop adds nearby noise. Set it down, confirm recording, and leave it alone.
5. Start recording and keep brief written notes
Tap Record before the lecture begins. Confirm that the recording timer advances, then return your attention to the class. You do not need to watch the waveform throughout the session.
Write down topic changes, slide references, questions, and anything shown rather than spoken. Audio captures speech, not an explanation that exists only on the board. A written cue such as the slide title makes that section easier to locate later.
6. Stop, rename, and verify the recording
Tap Stop when the lecture finishes. Give the recording a descriptive title using the course, topic, and class date. A title such as Biology — Cell Signaling is easier to recognize than an untitled file.
Play back material from the beginning and later in the recording before leaving. Check for understandable speech and missing sections. Then use the recording's sharing options if you need to save or transfer a copy somewhere else.
Which recording method should you use?
For an in-person lecture in 2026, choose based on what you need after class. Voice Memos handles straightforward audio capture. A transcription-focused app adds a text-based review workflow, but that text still needs checking.
| Option | Best for | Main advantage | Main limitation |
|---|---|---|---|
| Voice Memos | Students who want a straightforward audio recording | Records through the iPhone's microphone without a separate wearable | An audio file alone still requires listening and organizing |
| Omi app | Students who want searchable lecture transcripts and summaries | Records through the phone microphone and turns conversations into organized text | Transcripts and summaries need review; the selected language matters |
Choose the output before choosing the hardware. If replaying a difficult explanation solves your problem, start with audio. If finding a concept inside a lecture is the real problem, searchable text is the more relevant feature.
Neither approach replaces permission or good microphone placement. A different app does not move your phone closer to the lecturer, and a summary does not recover a sentence that was never captured clearly.
Voice Memos: best for straightforward lecture audio
Voice Memos is the direct route when your goal is to preserve the lecture for playback. Open the app, record, stop, and give the file a useful name. Keep the original recording while you work on your notes.
The advantage is a simple capture routine. You can concentrate on the lecturer instead of setting up a more involved workflow. That matters when class is about to start and you need a dependable sequence you understand.
The trade-off comes afterward. A long recording is still a long recording, and saving it does not organize the explanation into topics. Your handwritten cues become the index that helps you decide where to listen again.
Use Voice Memos when you need audio first. Pair it with short notes about confusing points, examples, and assignment instructions. Do not spend the lecture attempting to reproduce every sentence just because you also have a recording running.
Omi: best for searchable lecture notes
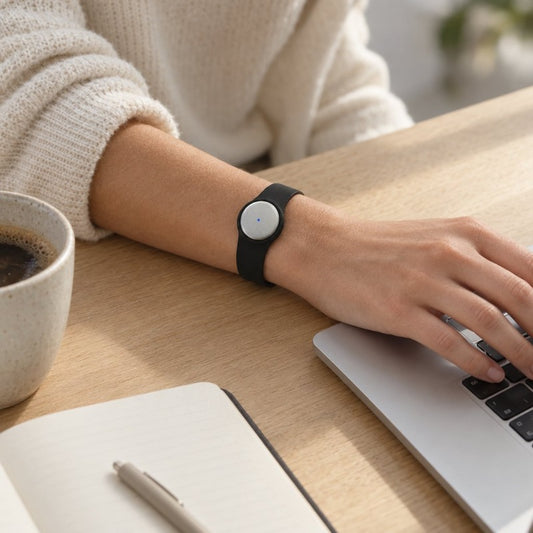
Omi is best for students who want lecture recordings turned into searchable transcripts and summaries. The iPhone app records through the phone's built-in microphone, so you do not need the wearable to start. Its outputs include transcripts, summaries, tasks, memories, and search.
The practical benefit is retrieval. Instead of relying only on a file title, you can search the captured material for a concept you want to revisit. Use the summary to orient yourself, then return to the transcript and audio for the actual explanation.
There are limits to plan around. The Basic plan includes 300 listening minutes per month, and Plus includes 1,500 minutes per month. Unlimited has no minute cap; the plans share the same core features. Reaching a minute cap does not stop recording, and audio remains available to manage and export.
The app supports 33 languages, with English the most accurate. Set the language manually before the lecture because it does not automatically switch languages mid-conversation. Review subject-specific vocabulary, names, and mixed-language passages against the audio.
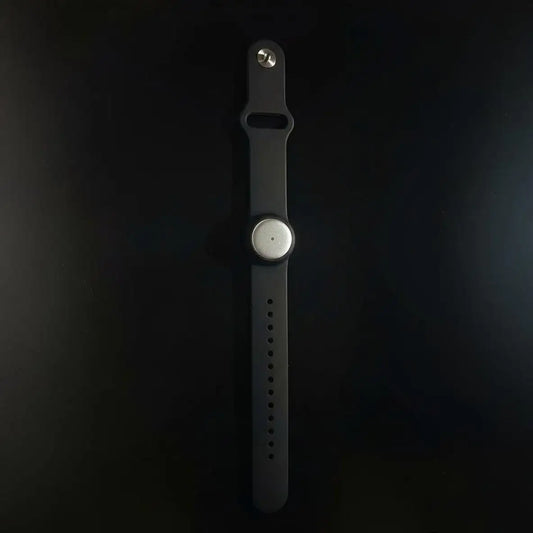
The wearable is a separate capture option, not a requirement for this iPhone workflow. For lecture recording, start by checking whether the phone app gives you the output you actually use. More hardware does not remove the need to check your notes.
Why lecture recording quality varies
Lecture recording quality in 2026 depends on the room and your setup, not just the app name. Check these factors before deciding that you need different software:
- Distance from the lecturer. Your phone captures sound from where it sits. Choose a permitted position that favors the lecturer's voice rather than nearby conversations.
- Microphone obstruction. Bags, clothing, books, and your hand interfere with the recording position. Keep the phone exposed and stable instead of treating it like something to hide.
- Nearby handling noise. Paper movement and desk contact happen close to the microphone. Put frequently handled materials somewhere they will not repeatedly touch the phone.
- Changes in who is speaking. A clear lecturer recording does not establish that audience questions are clear. Note questions in writing when the phone does not capture them well.
- Language and vocabulary. A transcript needs the right language setting, and technical terms deserve a manual check. Do not learn a definition from text you have not verified.
- Interruptions and device readiness. Battery, storage, calls, and app changes belong in your pre-class check. Verify the actual recording after an interruption rather than assuming it continued.
Change the physical setup before expecting text processing to fix unclear speech. If your test recording is hard to understand, move the phone or change seats where permitted and test again.
Can I record a lecture with my iPhone locked?
Voice Memos can continue recording while your iPhone is locked. Start the recording and confirm that it is running before locking the screen. Test the sequence before class so you recognize the recording controls on your own device.
Locking the screen is different from stopping the recording or switching to another audio task. After taking a call or changing apps, check the recording status. Do not discover an interruption only when you need the missing explanation.
Can I record a lecture without Wi-Fi?
Voice Memos records locally without Wi-Fi. Check storage and battery before class, then save and verify the recording on your iPhone. Uploading or sharing the file afterward is a separate step.
For other recording apps, distinguish offline capture from later transcription and syncing. Test the exact workflow without a connection before relying on it in a lecture hall. An app opening successfully does not prove every part of its workflow works offline.
How do I turn a lecture recording into useful study notes?
Use the recording to resolve gaps, not to postpone paying attention. Start with your written topic cues, replay the unclear explanation, and write the idea in your own words. Keep diagrams and slide references beside the relevant explanation.
If you use a transcript, correct key terms before building revision material from it. Then turn the lecture's main claims into questions you can answer without reading. The useful result is an explanation you understand, not a larger collection of saved files.
FAQ
What's the easiest way to record a lecture on iPhone?
Voice Memos is the easiest starting point when you only need an audio recording. Get permission, tap Record, keep the microphone unobstructed, and verify playback after class.
Do I need permission to record my professor?
Check with your professor and institution before recording. Consent rules vary by location, so check local law as well; this is not legal advice.
Where should I put my iPhone during a lecture?
Put your iPhone on a stable surface where its microphones are unobstructed and it can clearly hear the lecturer. Keep it away from bags, moving papers, and repeated desk contact.
Will Voice Memos record while my iPhone screen is locked?
Voice Memos can continue recording while your iPhone is locked. Confirm recording has started and test the sequence before class.
Does Omi need a pendant to record a lecture?
Omi does not need a pendant to record a lecture through its iPhone app. The phone's built-in microphone provides the recording input.
Can I use a lecture transcript instead of listening to the recording?
Use a lecture transcript for searching and review, but check unclear or important passages against the audio. Verify names, technical vocabulary, and assignment instructions before relying on them.
Should I share my lecture recording with classmates?
Do not assume permission to record includes permission to share. Check the lecturer's instructions, institutional policy, and applicable local law before distributing the file or transcript.
One last thing
Record what the microphone cannot capture in your written notes. When a lecturer points to a diagram and says that this is the important part, the audio preserves the sentence but not the thing being indicated. Write down the diagram title, the relationship being shown, or the slide reference.
Make that your lecture-recording habit in 2026: capture speech with the phone and capture visual context yourself. After class, check the passages that depend on those cues while the explanation is still familiar. This gives the recording a useful companion instead of leaving you with audio that refers to something you can no longer see.